Behind the Swedish Police Campaign: Storyboards and 3D Previsualization
“We really appreciated the creative journey together with Mattias with the storyboards and 3D-previews.
It helped us make sure that we shared the same picture of what we wanted to create, and to avoid misunderstandings early in the process.”
- Linnéa at The Swedish Police
About
The Swedish Police had a recruitment problem: IT professionals didn't see police work as a place to build a tech career.
Their campaign tagline said it all: "You don't have to be a police officer to work for the police."
To reach IT professionals, we created short film ads. ⤵️
The Challenge
This project came with constraints that made pre-production critical:
1. Short format: 6 to 15-second ads
2. Copy-driven: Text on screen almost the entire time
3. Multiple ads from one shoot: Tight planning meant we should only shot what we needed.
That meant slow, controlled camera movement, like a moving still image, to keep the text readable.
Each shot also needed to hold for 3-6 seconds on its own, to reduce cutting while the viewer is reading.
And here's the thing: when your camera moves slowly for several seconds at a time, there's nowhere to hide. Every shot has to stand on its own.
So here's what we did.
Step 1: AI Storyboards for Quick Iteration
I started with quick visual sketches using my custom GPT for storyboards.
Example:
When the client said, “we want two people interacting in the police car,” I generated multiple visual options.
Because the IT professionals in the campaign are dressed as civilians, it wasn’t immediately obvious that the scene took place in a police context.
This allowed us to quickly explore different ways of framing the scene and align on the vision before investing time in the 3D previs in
step 2.
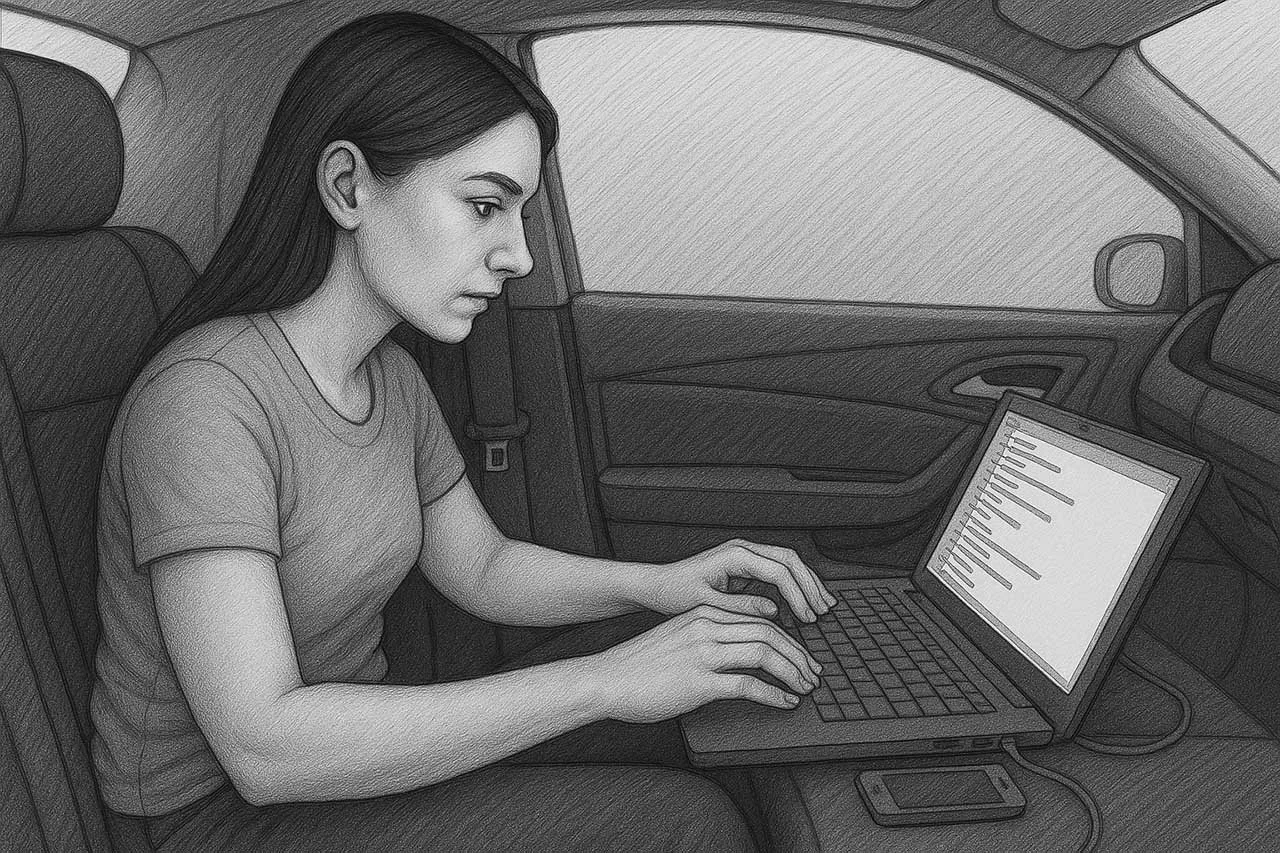
We wanted to focus on the person in the back seat working on a laptop. But when we looked at the storyboard, we realized that without a uniformed police officer in the frame, nothing clearly tells the viewer that the scene takes place inside a police car. ❌
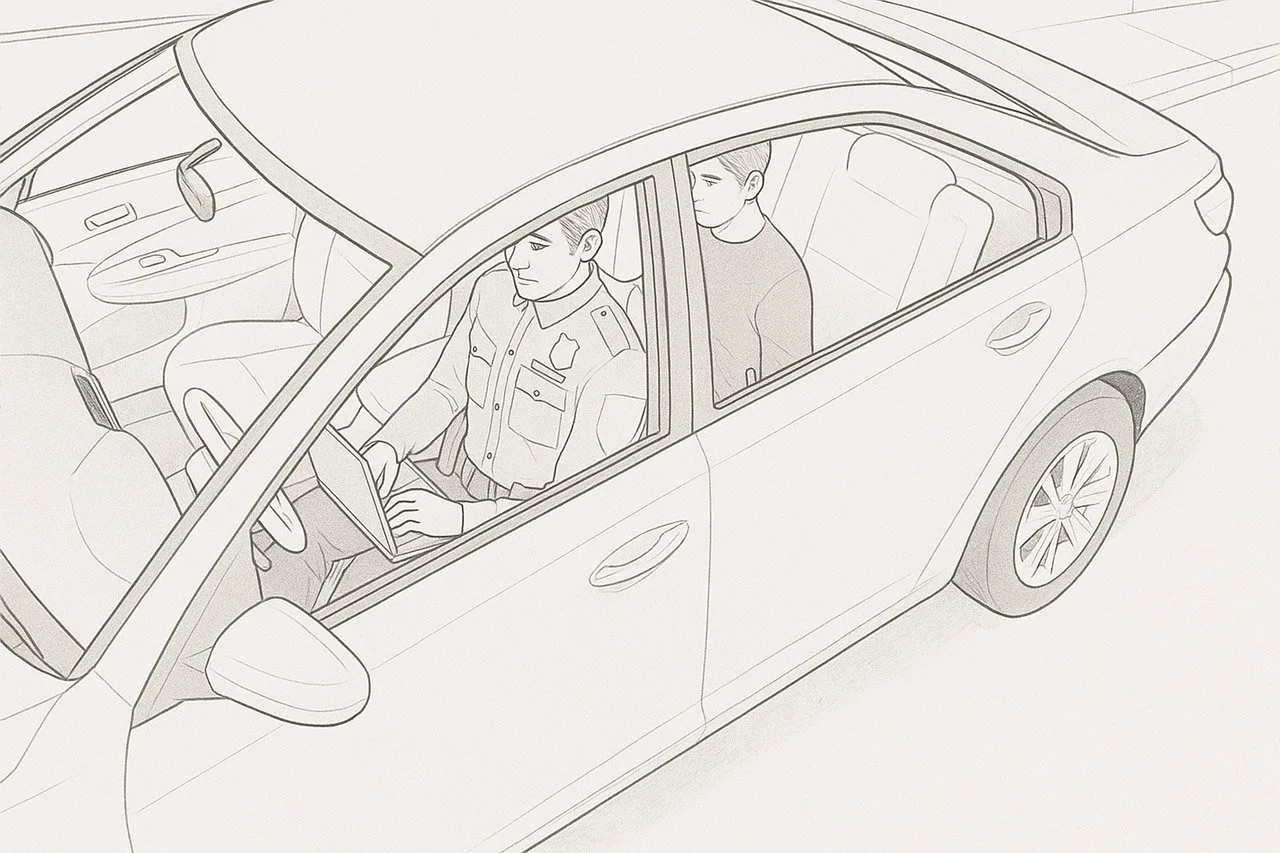
We thought about shooting from the outside, the police car branding would make the context obvious. But we filmed in winter and wanted the footage to work all year round. Snow in the shot would give that away, so we stayed inside. ❌
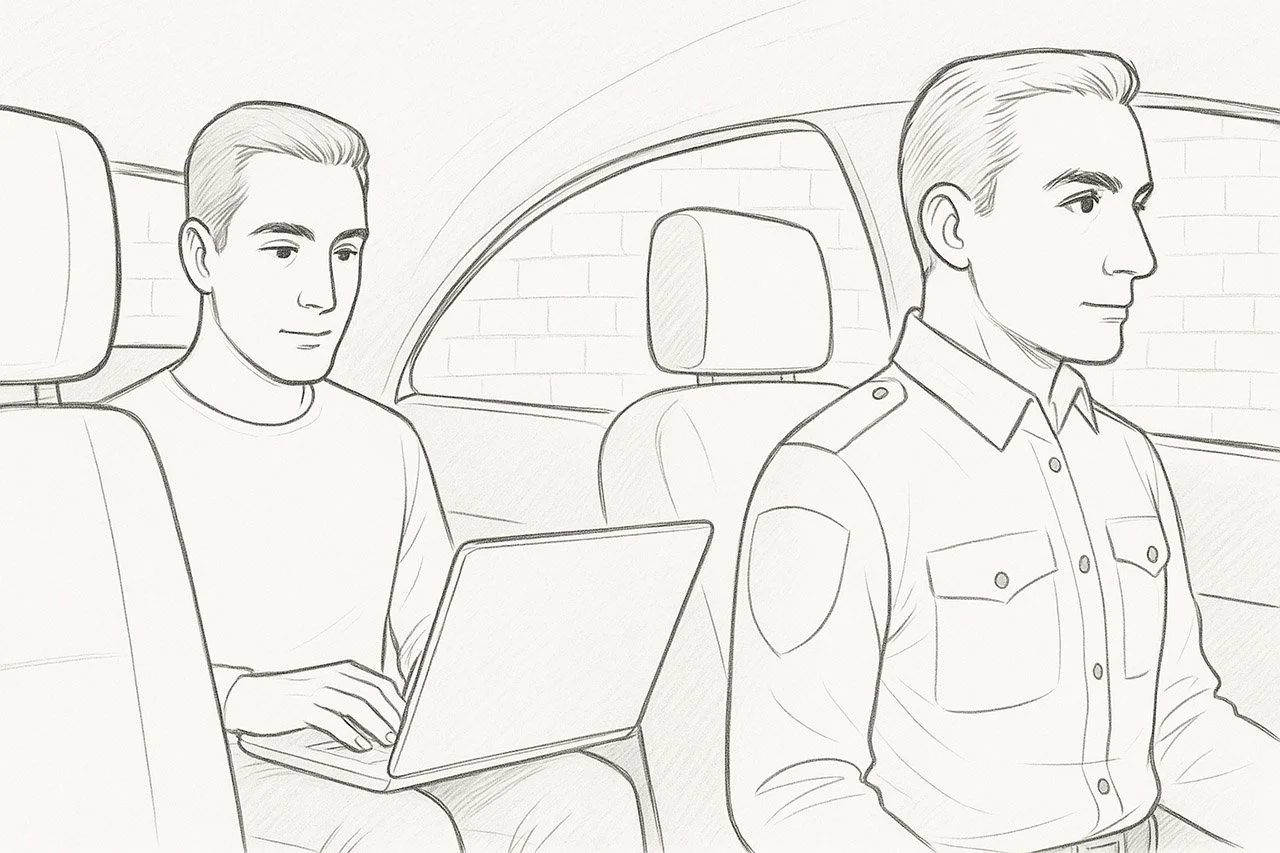
We went with this setup: the civilian-dressed IT professional with the laptop in the back seat and the uniformed officer in the front. ✅
Step 2: 3D Previsualization to Catch Problems Early
Once the storyboard was approved, I built a virtual 3D version, like a rough animated preview of the shoot.
This is where we spot potential issues before they become expensive problems on set.
The 3D preview helped us understand:
* How long each clip needed to be
* What the camera movement would look like
* Where to position actors for the best framing
By the time we showed up to shoot, everyone knew exactly what we were creating.
Step 3: Shoot Day Becomes Execution, Not Experimentation
By the time we arrived on set, every shot was planned and approved.
No surprises. No wasted time figuring things out.
The shoot day was just about executing the plan and having fun doing it. :)
The Result
We delivered all shots on time and on budget.
The pre-production investment (storyboards + 3D) meant more time for me in prep, but it saved the entire team hours on set.
Here’s what the team had to say about the process.
Linnéa – Swedish Police Authority
-”We really appreciated the creative journey together with Mattias with the storyboards and 3D-previews. It helped us make sure that we shared the same picture of what we wanted to create, and to avoid misunderstandings early in the process.”
Karolina – Client Manager, Kid Collective
“The storyboards and 3D previews helped us see the films more clearly right away. It made the collaboration smoother and helped the project move forward much faster.”
Did you enjoy this post? ❤️
Learn more about film and photography in my LinkedIn newsletter 📰
Or through my YouTube tutorials🟥 👀
And get my best freelancing tips at onemancrew 🥇